Tutorial: The Techniques For Realistic Illustrations
The more you read, the more you learn and the closer you reach to become a perfectionist. Nithin Rao has shared his knowledge through a tutorial for an illustration, helping the learners grow at a faster pace.
There are certain things that one must be careful before starting out with an illustration. Nithin Rao mentions some of these things before instructing through a step by step tutorial for the creation of a digital illustration.
It is always good to have the scene and story set in your mind before designing character as this helps in better ideation while sketching, thus resulting in a rapid design development. This also eases out the process of research for references.
Read through this detailed instruction guide and create a realistic illustration.
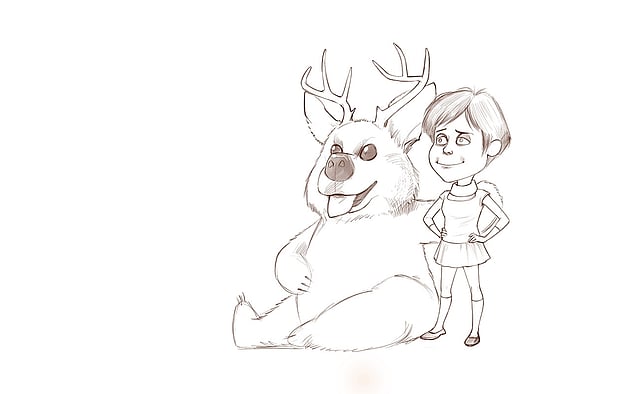
Step 1
Start by doing a basic line sketch of your character, keep perfecting it until and unless you are fully satisfied with your sketch.
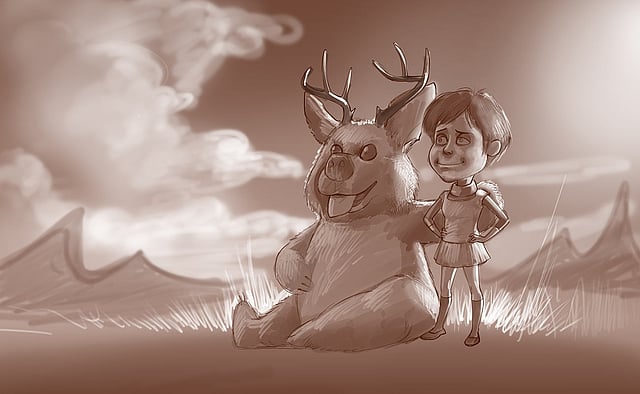
Step 2
Once the sketch is in place, it's time to set the mood of the visual by roughly doing the light and shades. It can be grey or any monochromatic color. Sometimes, putting basic colors helping to get a glimpse of how the final image might look like.
In this particular image, Nithin is creating an evening sky with more of an orangish tint than blue and to make the visual more dramatic, he has given the main light source from behind. This is a tricky situation as the reflection of the sky will act as another light source from the front of the characters.
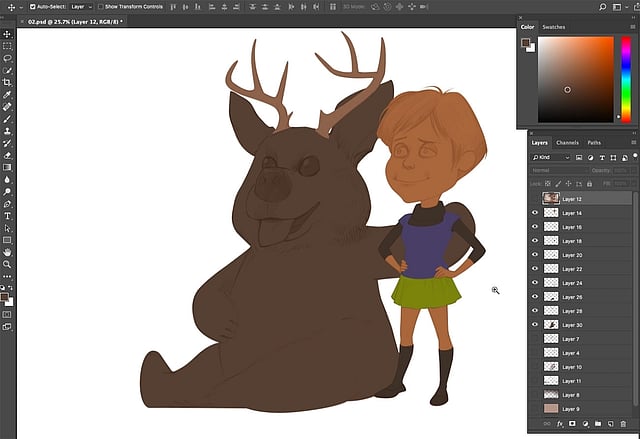
Step 3
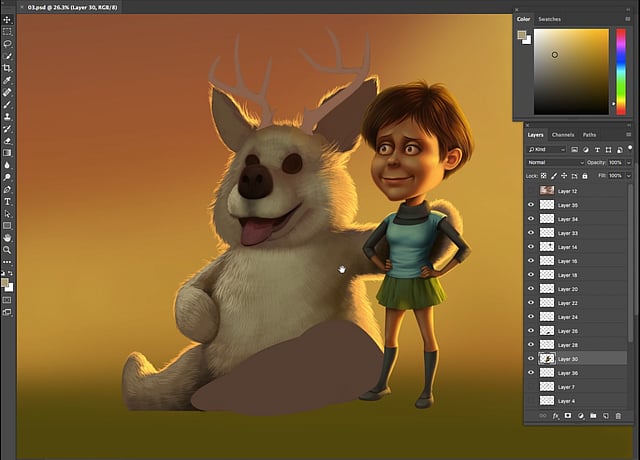
Create different layers for every new object and also for objects that overlap. Using the pen tool for selection is simple and makes it easier to edit the selection while working on it.
For instance, Nithin has made a different layer for the creatures left leg since it is easier to color its body when the leg is on the top layer.
Also, keep in mind to create minimum layers as too many layers cause confusion and slow down the work. Mind it, layers are created to make the work faster, they shouldn't hamper the work process!
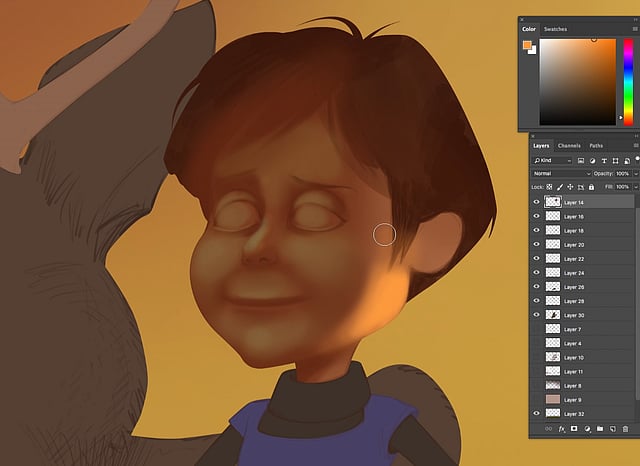
Step 4
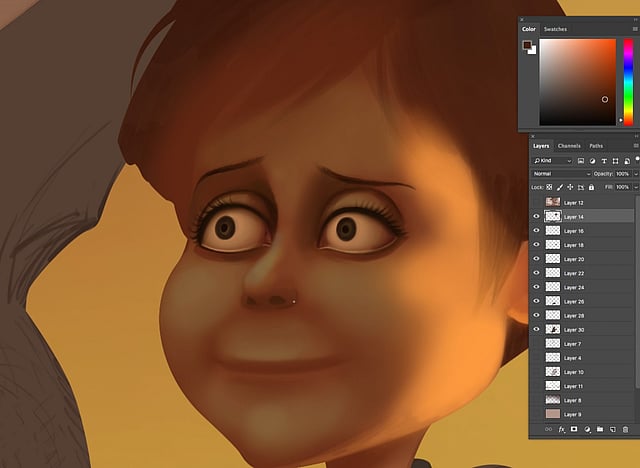
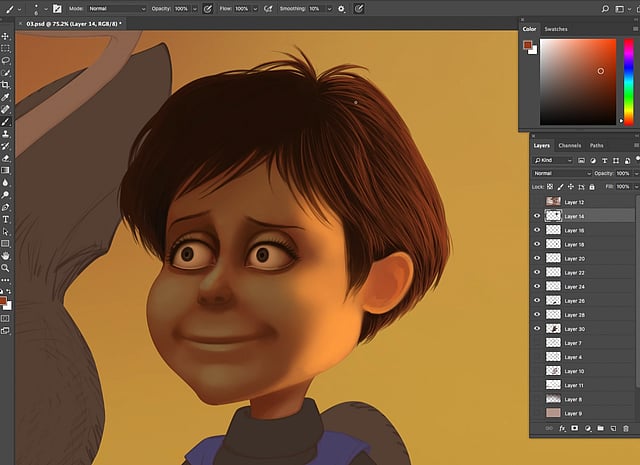
Start in the traditional way by coloring the face with basic tones. Never add dark shades or highlights in the beginning. The final light and shades can be decided only after the completion of the background.
Once decent textures are achieved, then move on to other parts of the illustration.
Step 5
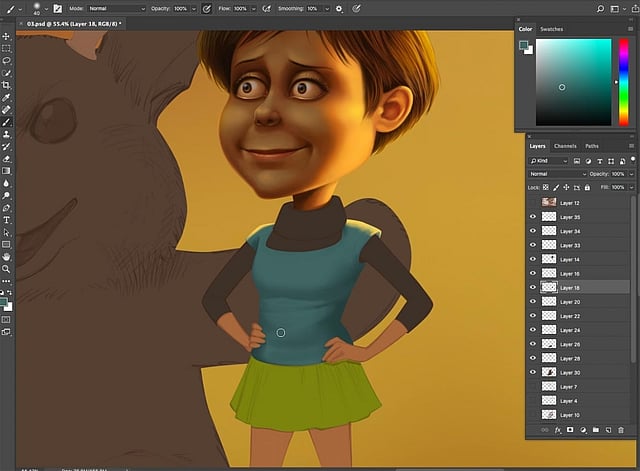
The same technique of beginning coloring with basic shades and then adjusting the shades as per requirements should be followed for all the parts of the illustration.
Step 6
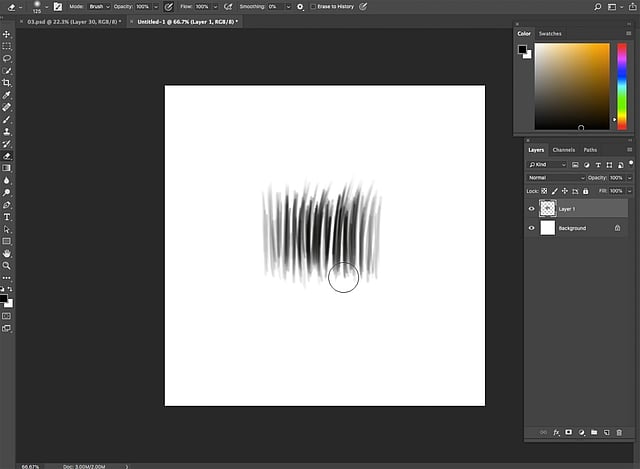
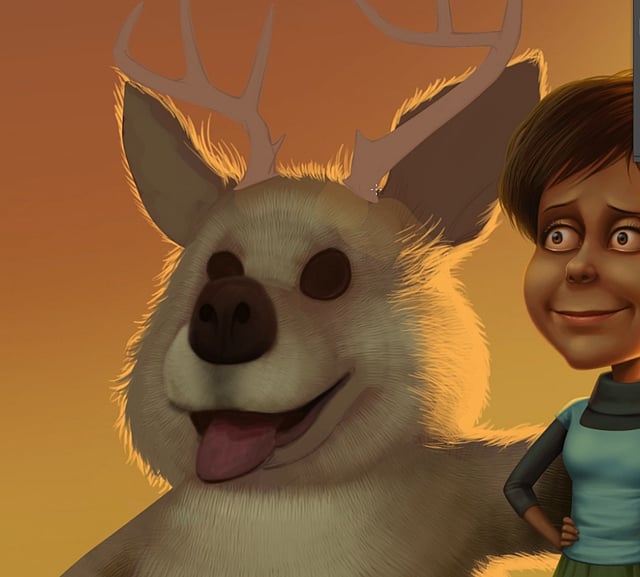
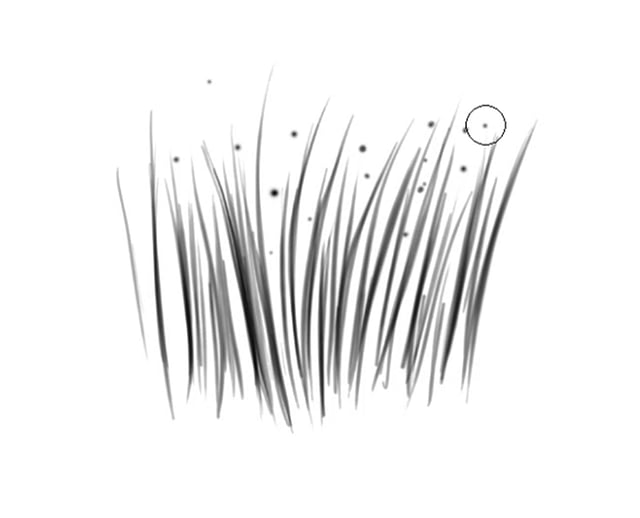
The creature in this illustration is furry and creating a fur texture is painful if done without a brush.
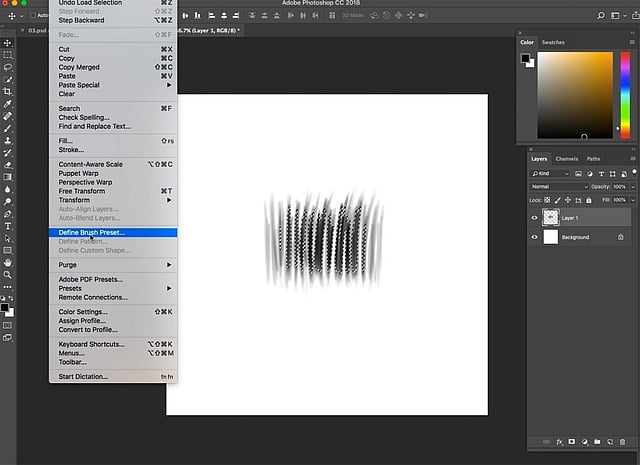
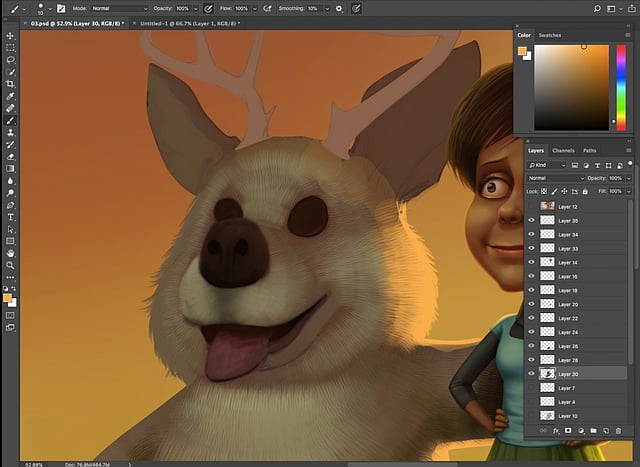
To create the brush first paint the kind of hair texture that is needed on a new layer in shades of black. To not make it look identical, paint about 7 to 12 hairlines. Then select Edit>DefineBrush Preset> Name the brush and save it as a brush for future use.
Step 7
Once back to the artwork, the new brush will already be selected.
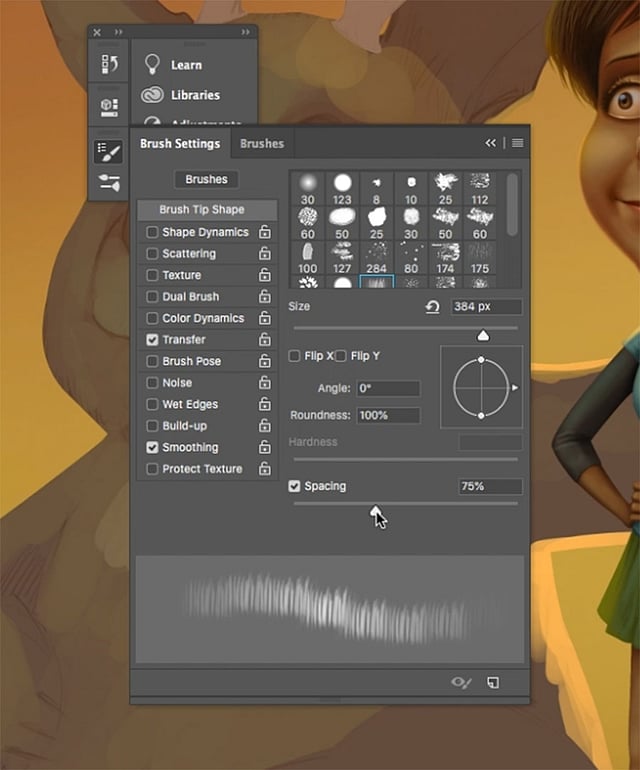
Go to Window and select Brush settings. Give some spacing and overlap a little bit of the edge to maintain continuity.
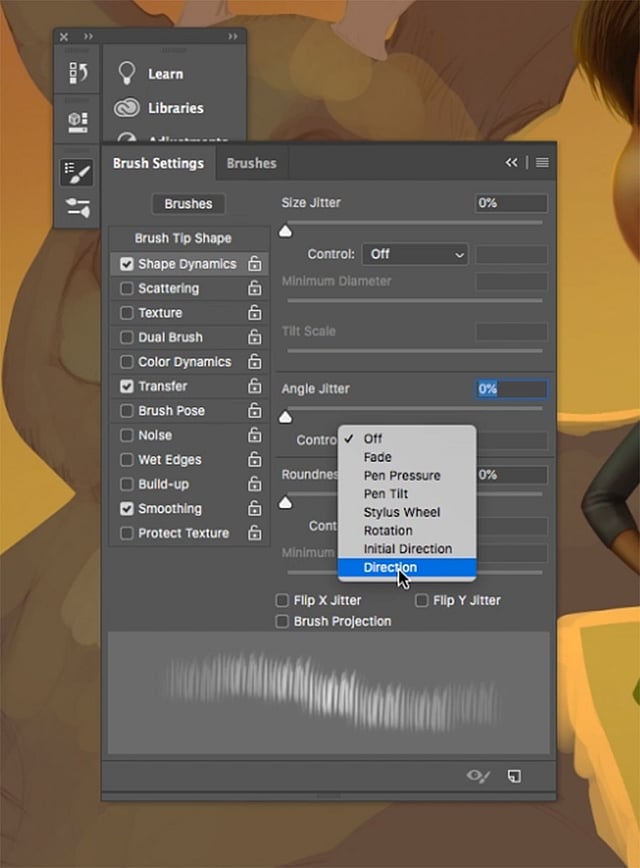
Then select Shape Dynamics >AngleJitter >direction, this will help you paint smoothly in the angle needed.
Step 8
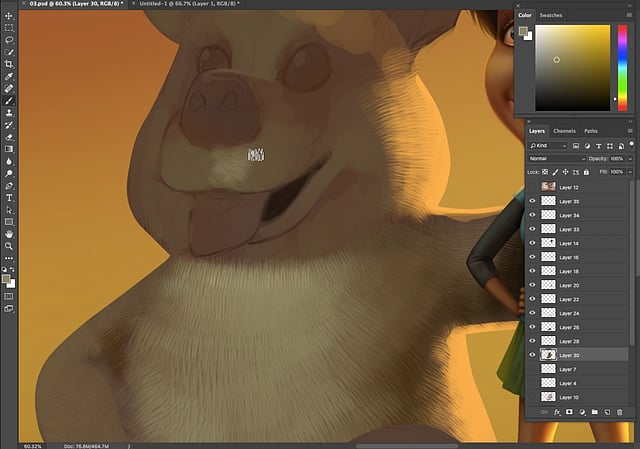
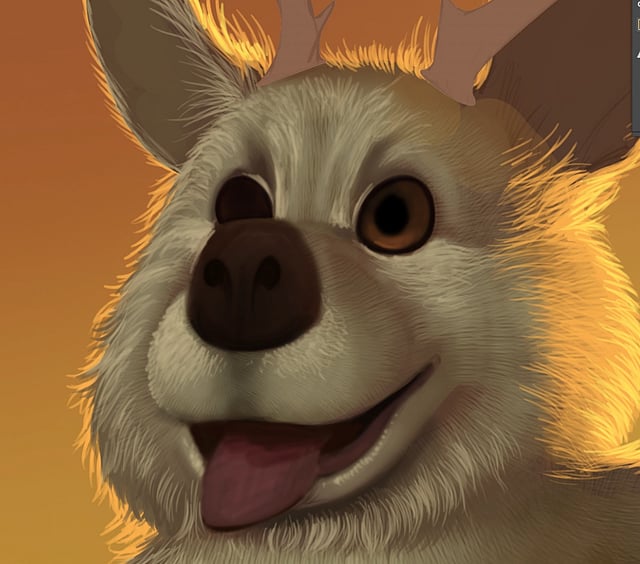
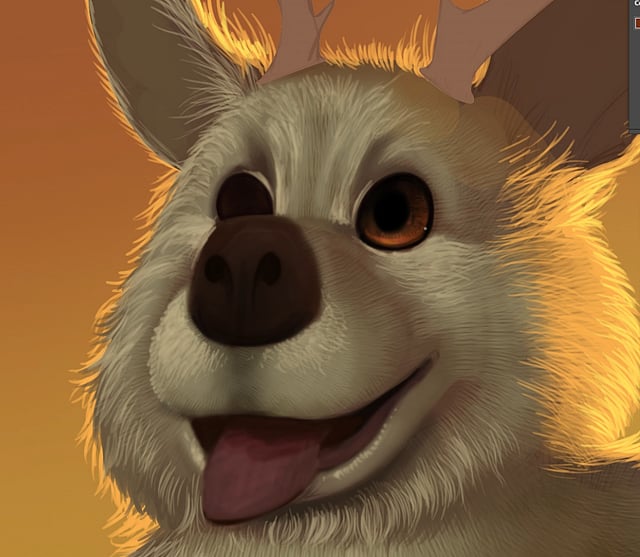
Start painting with mid-tones. Once decent light and shades are achieved, then start adding the highlights.
The brush may not work in some areas. To break the repetitive feel on the texture, start painting individual hairlines using soft round brush or any other brush that you are comfortable with.
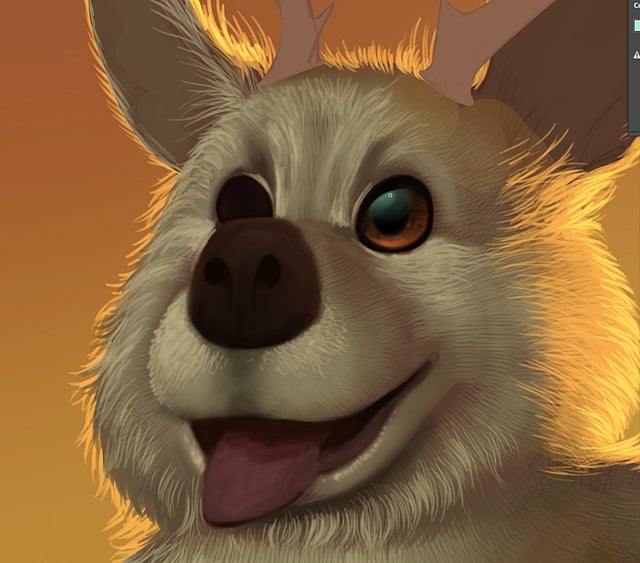
The fur surface becomes interesting when lit from a background. For this, show some high light on all the edges.
Step 9
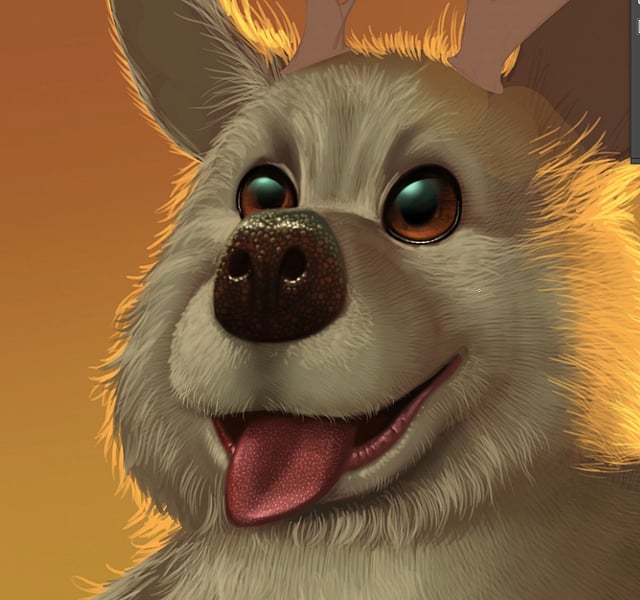
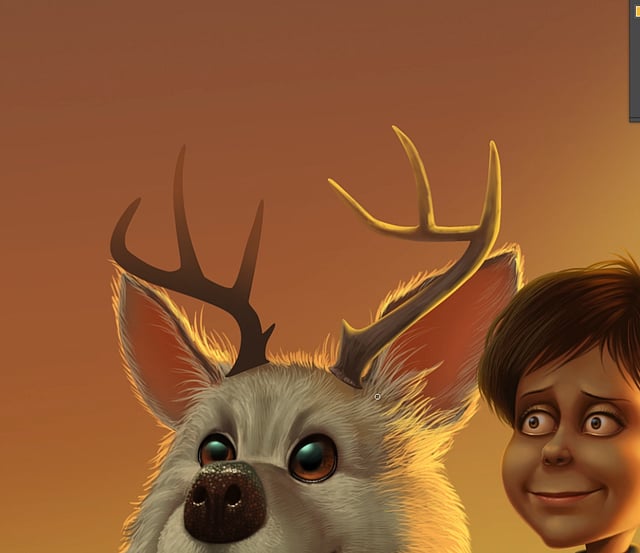
Eyes are Nithin's favourite parts to paint as they are the easiest of all!
If one understands how the effect of light works on crystal, diamond or water droplets, then painting eyes is no big deal as the same technique is applied here as well!
Follow the steps below to paint the eyes.
Step 10
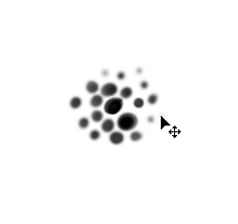
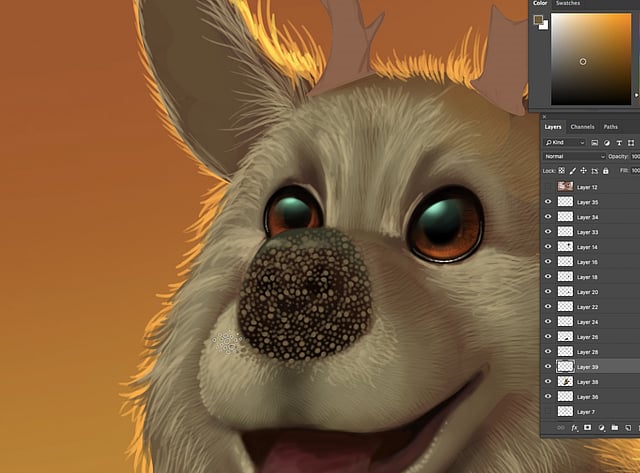
Wanting the nose to look like a dog's, Nithin has created another brush for this texture.
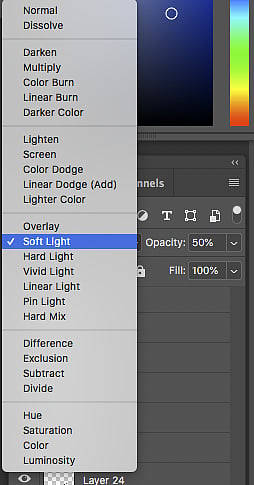
Painting the texture on a different layer, he then changes the layer into Soft Light from the layer pallet option. This gives the texture the highlights and darker shades based on the below layer, which was painted with the basic color tones on the nose.
Step 11
He has created yet another brush for the grass and painted individual grass separately. Sometimes making grass requires more than one brush.
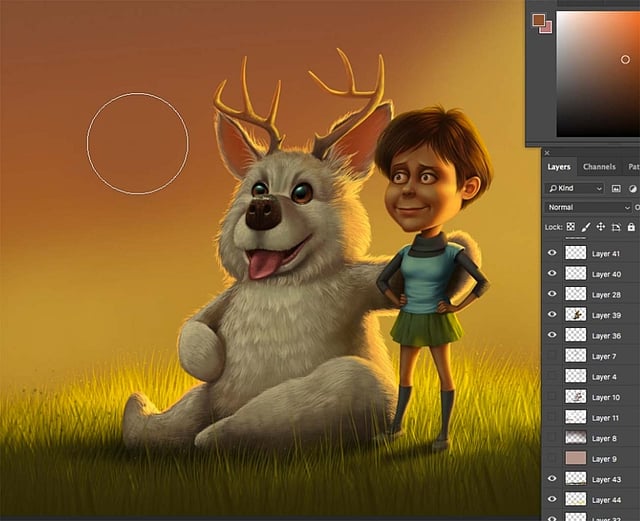
Step 12
Since the character is right in the middle, multiple layers of grass need to be shown. After painting the ground, a soft shadow of the characters should be added for depth.
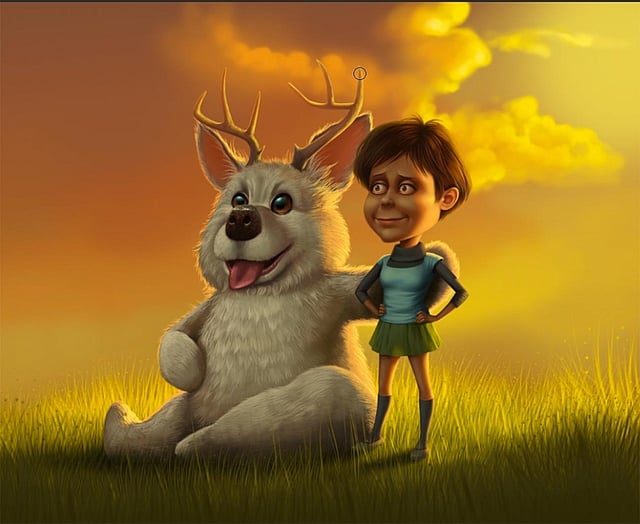
Step 13
Now is the time to add some clouds. Using reference images for adding clouds are of great help for beginners.
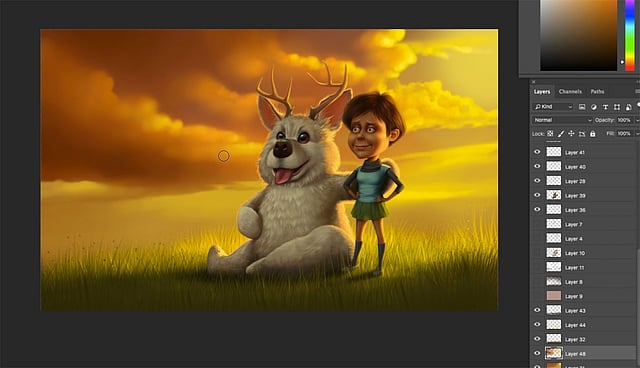
Step 14
With all the surfaces painted, sometimes there arises a need to add a color gradient to the entire illustration.
In this case, Nithin has added a yellow tone on top of all the layers to make it impressive. He has also added some dust particles on the illustration to create a dramatic mood and feel.
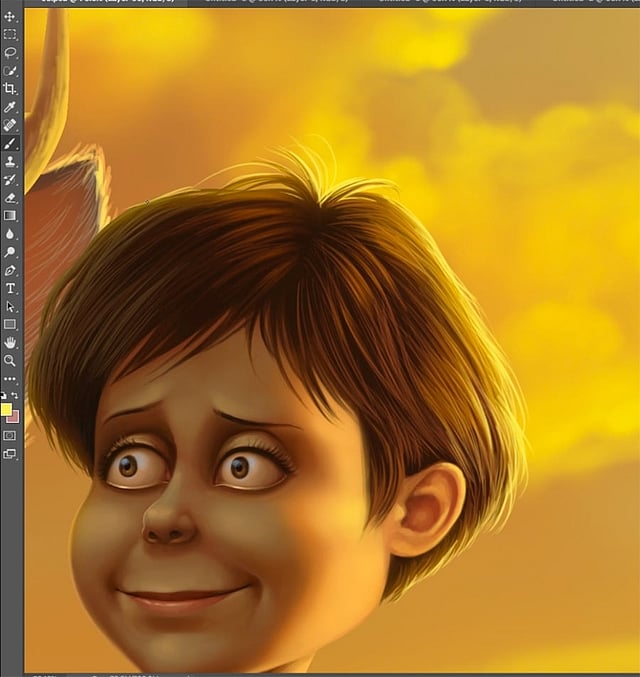
Step 15
The last step is to give the final touches to the characters which include adding sharp highlights.
To make the illustration look realistic, one can add hills in the background, painting them light and dark.

