Tutorial: How to Render a Character in a Dynamic Pose!
Step 01
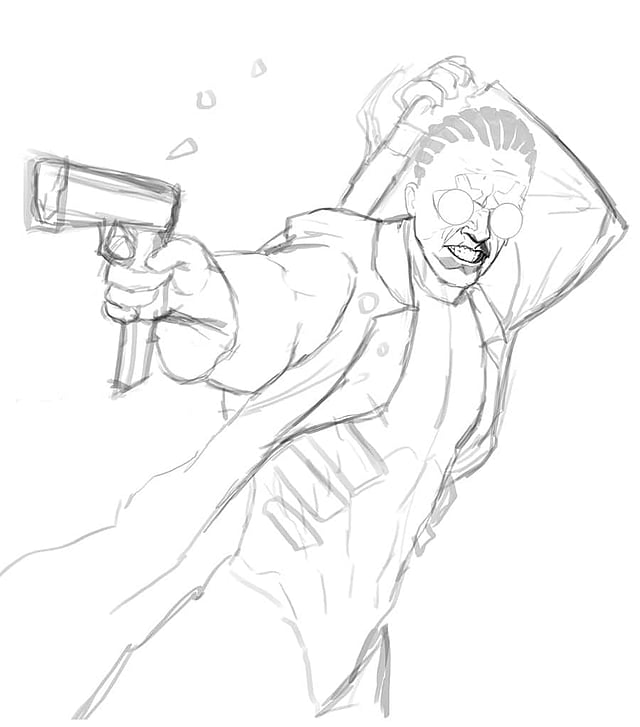
Started out with a basic sketch. Used a fairly large canvas, usually A4 at 300 dpi, in case you would want to print it out later. It also gave enough room to zoom in and add detail.
Step 02
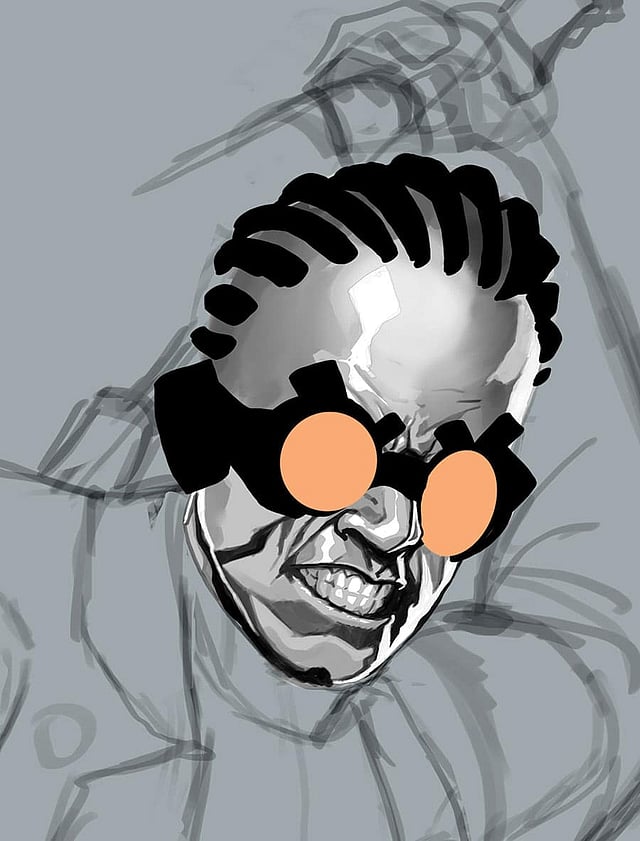
Rendered the basic details on the face. Modified the drawing on the left arm slightly. Used only grayscale on the majority of this painting. Realised this was the best way to ensure values and separations remained correct. Blocked in the shape of the goggles and added in the orange lenses. This would be one of the only actual colours used in the entire piece. Used a basic calligraphic brush for most of this painting.
Step 03
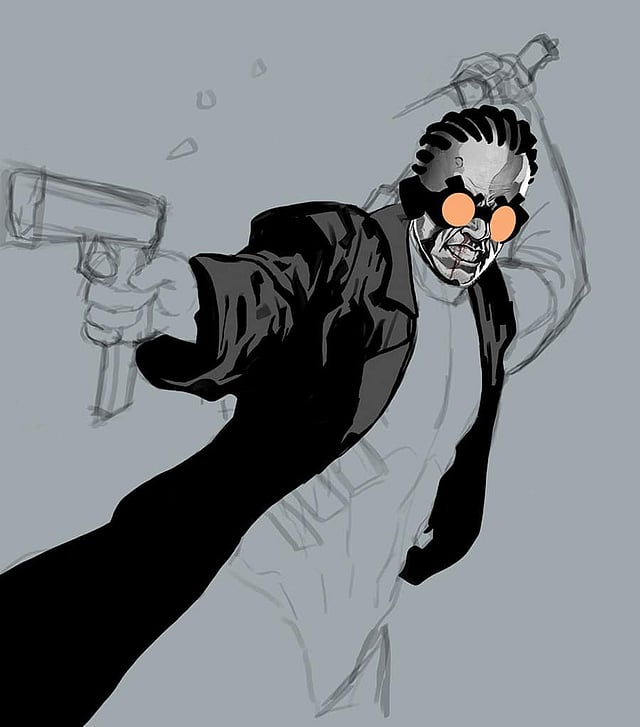
Blocked out the basic shape of his flowing coat. This would help form his silhouette. Also blocked out basic folds and lines at this step. Cloth is usually tough to render and it helps a lot to have ready reference at hand. It's best to shoot your own reference if possible.
Step 04
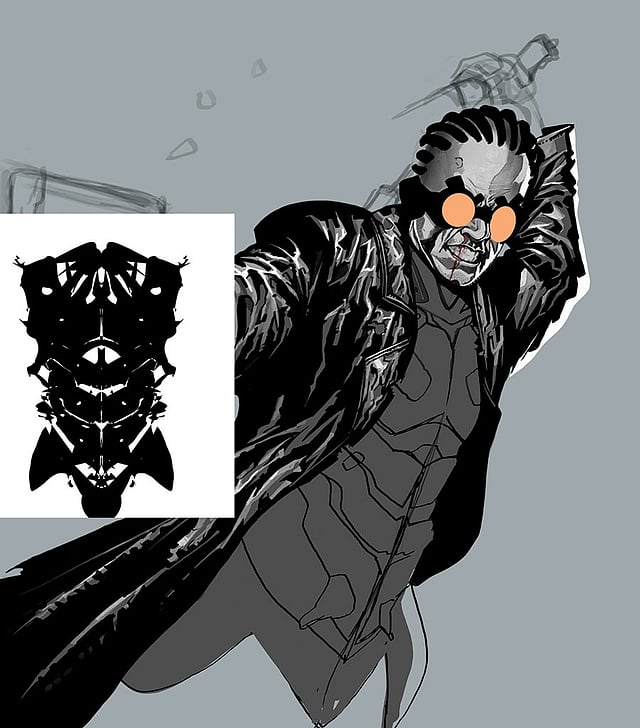
Added in highlights and detail on his coat, such as bullet holes and tears/rips. Also, to help in the design of his armour, opened up alchemy, a free drawing software. Saved the design and imported into a Photoshop file. The free-flowing shapes in alchemy helped come up with a unique design which could be used as a base for the armour design.
Step 05
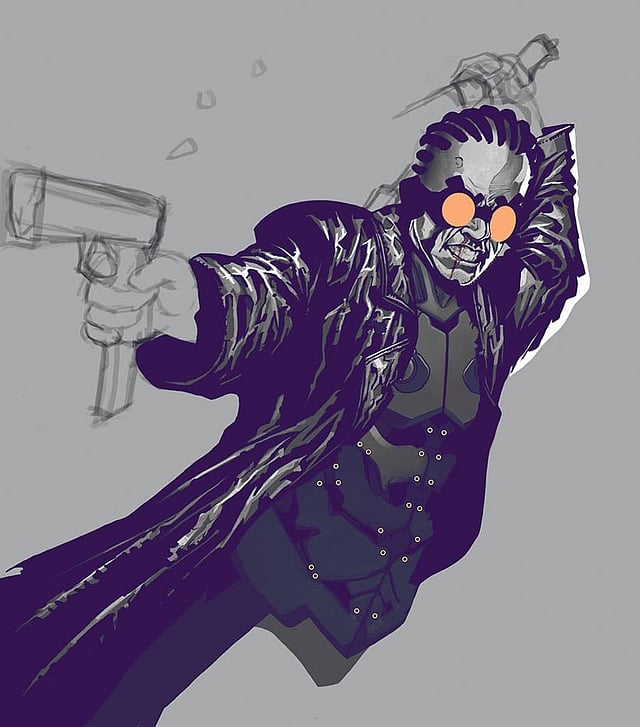
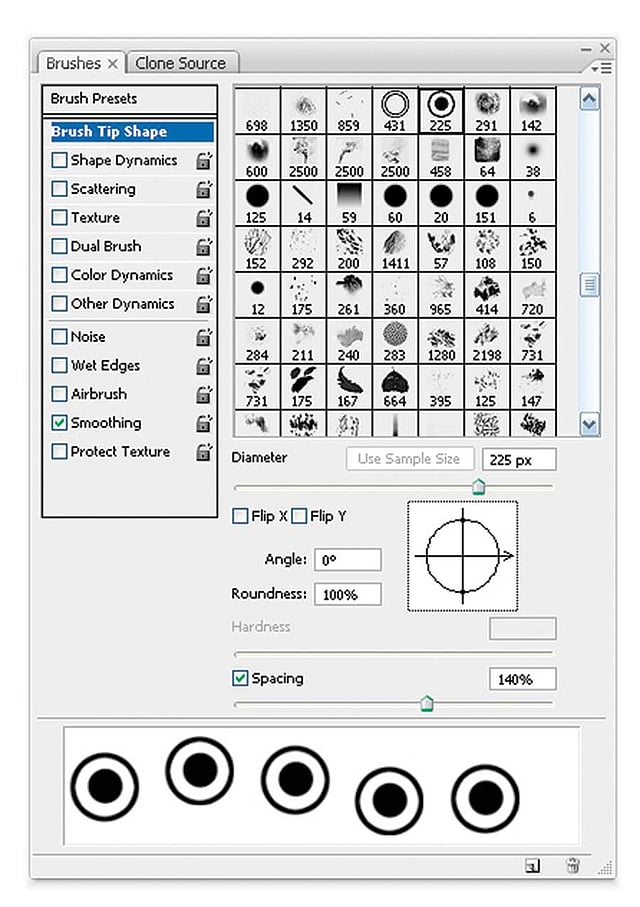
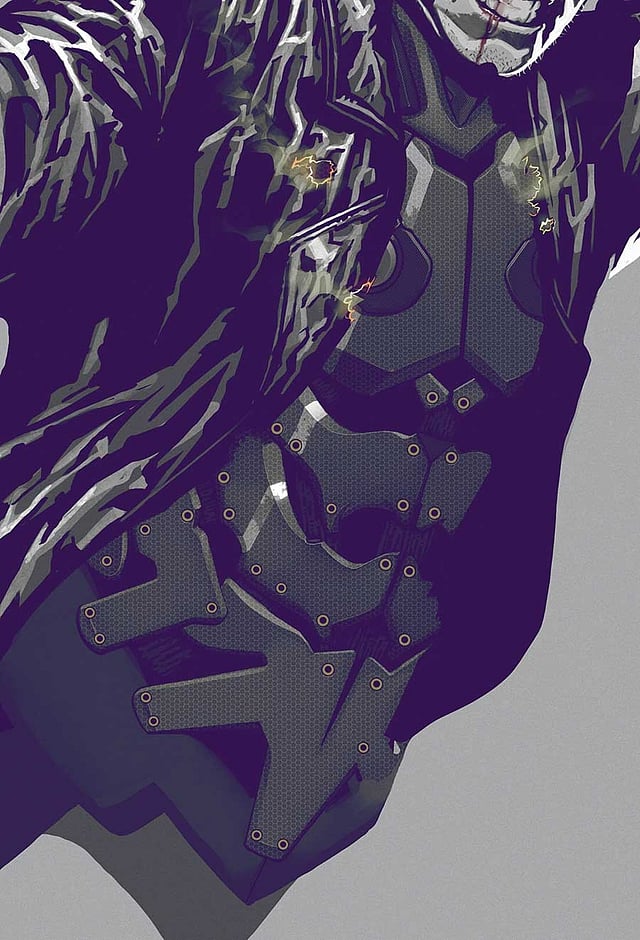
Started fleshing out the armour here. Added shapes and light. Also, added some screws all over it. Used a simple custom brush. Also, at this stage, added a layer of flat purple in pin light mode to give the greys a bit of colour. It helped bring out a sterile sci-fi look.
Step 06
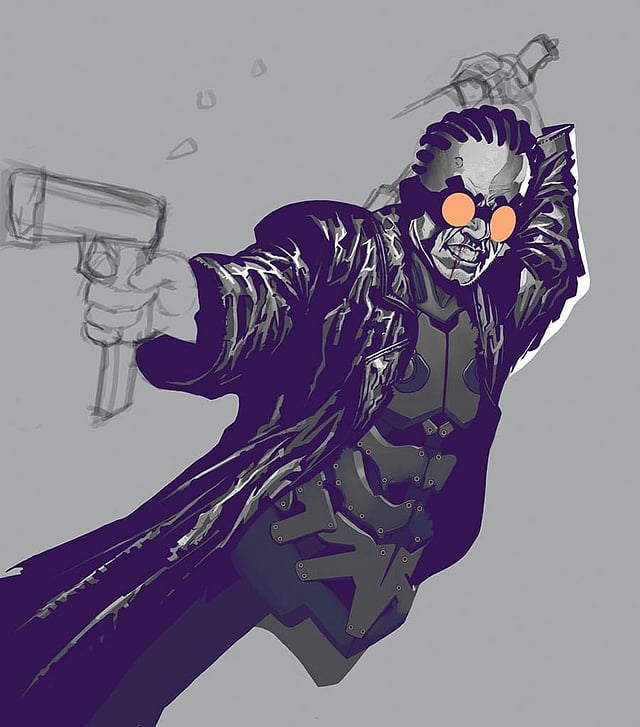
Modified the armour further and added more light and shade.
Step 07
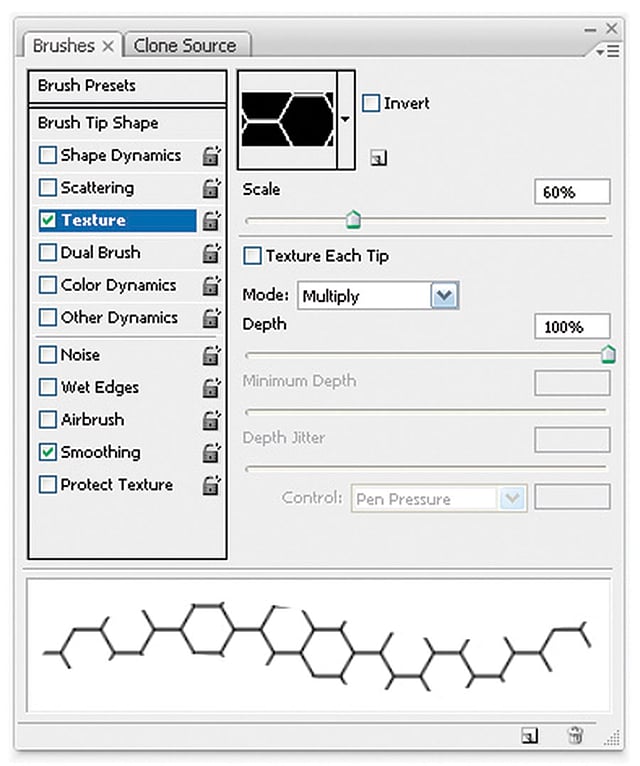
Added a hexagonal pattern on the armour to suggest high tech. Used a brush for this to control the size of the pattern. Used the texture setting on the brush and paint it in.
Step 07a
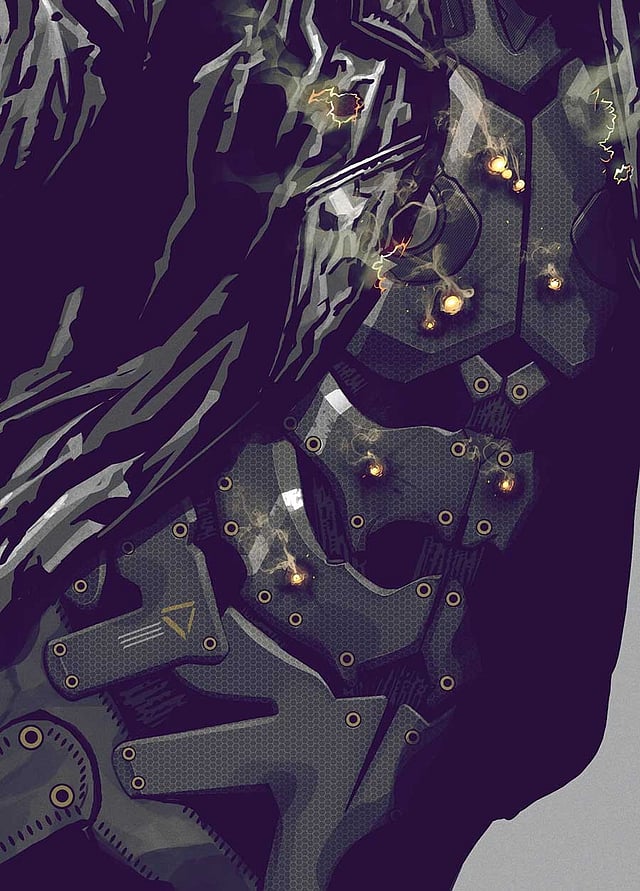
Added some fiery/glowing edges to the bullet holes on his jacket and small wisps of smoke from them.
Step 08
Added in bullet impacts on his armour. Added some stitching on his armor which was a simple modification to the calligraphic brush and added some decals overall on his armour.
Step 09
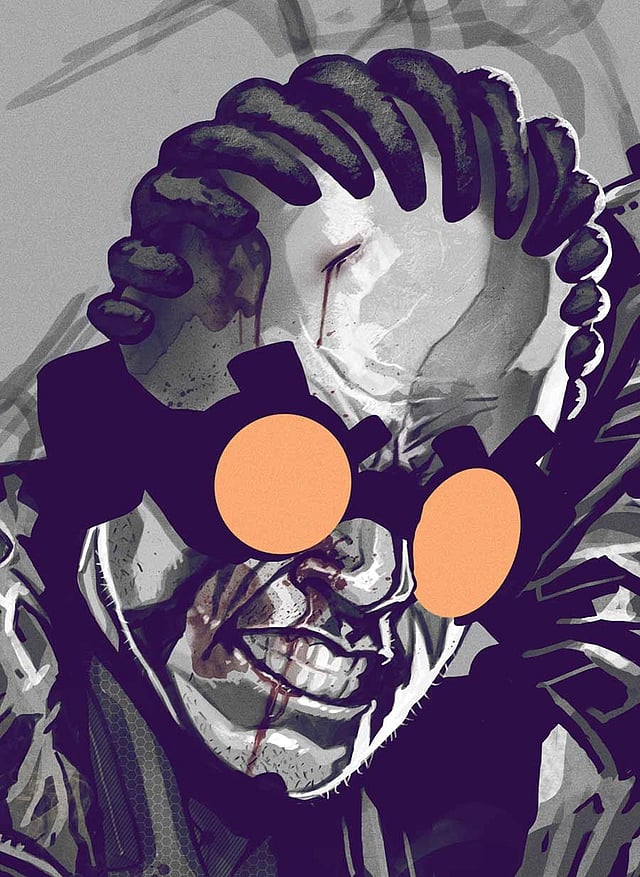
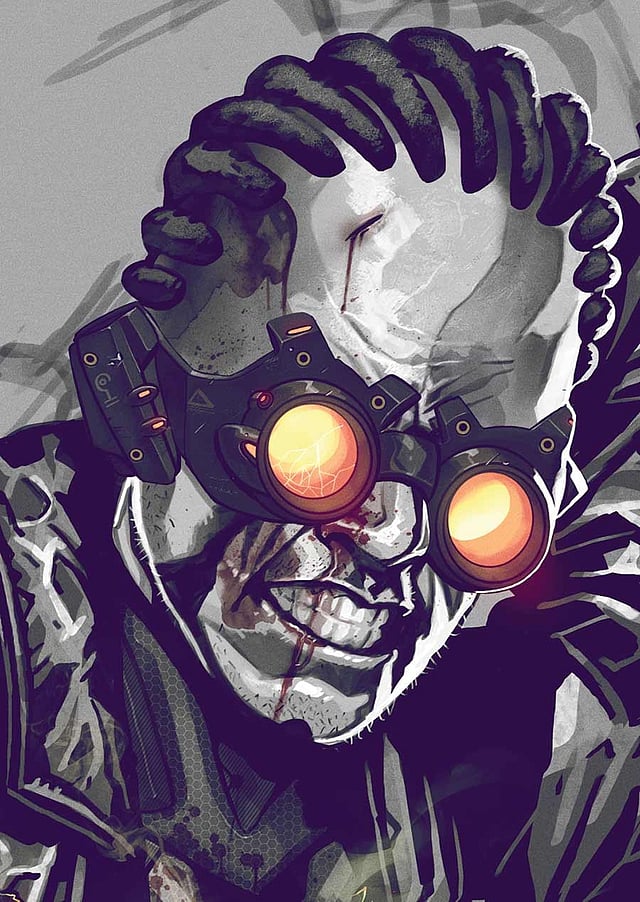
Moved back to the face again. Finished rendering the hair and added some cuts/wounds on his face. Used custom brushes for some of these, which were mostly scanned splatter effects. Such brushes can also be downloaded online.
Step 10
Added in details on the goggles. Used a pattern to suggest texture/material on the frame.
Step 11
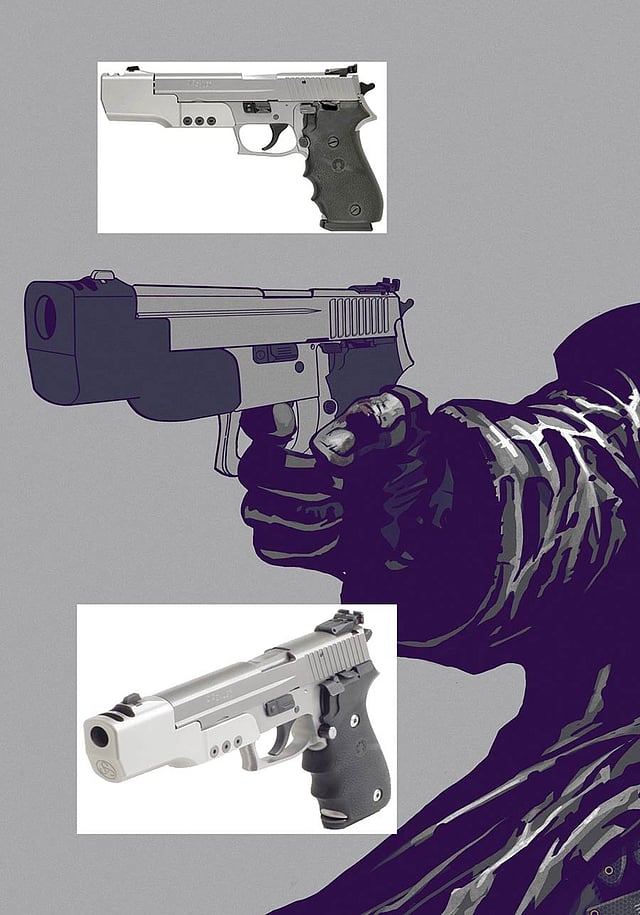
Rendered the right hand and then moved on to the gun. Looked for references that would help.
Step 12
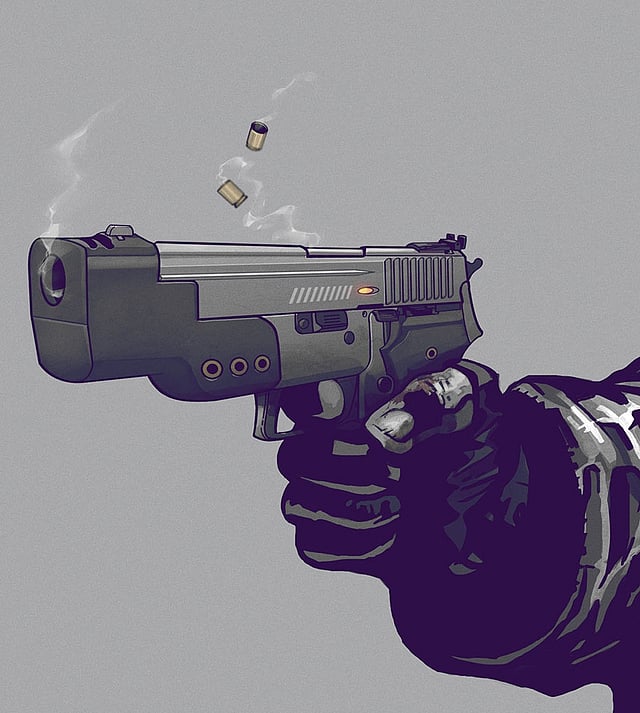
Added light shade on the gun and added some screws and glowing bits to suggest it came from the same family as the goggles and armour.
Step 13
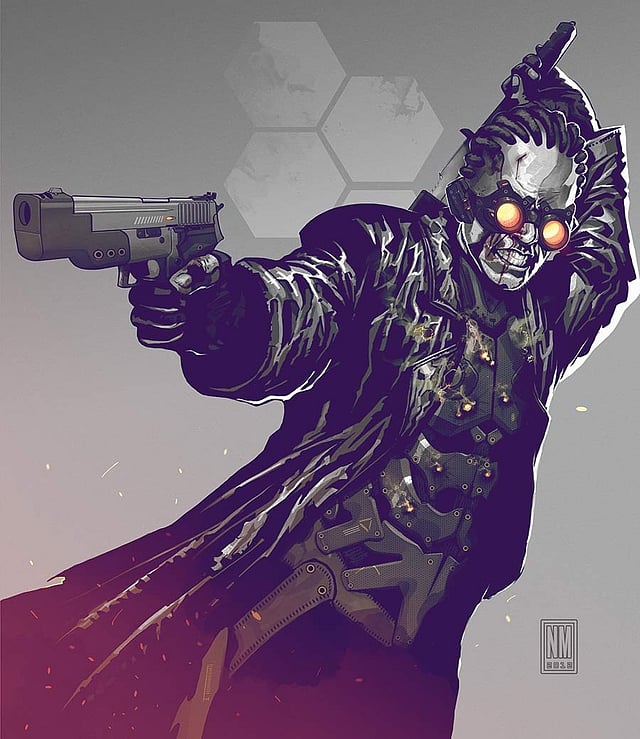
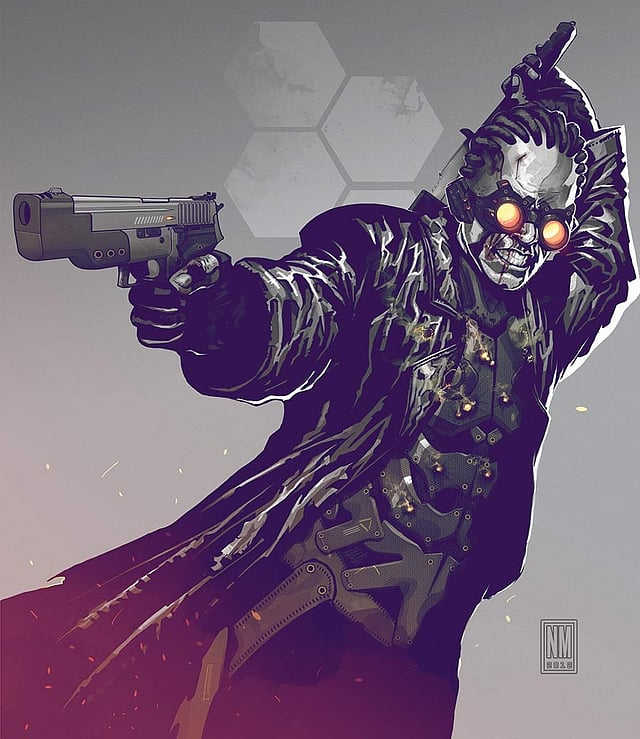
Used some photo reference to get the swordhand right. Added some rim lighting around the edges and tightened up some details futher. Removed the shell casings from the gun. Added a pattern in the background and some sparks with a red gradient in the foreground for an added visual boost. Also added a noise filter in overlay mode on the image for added texture.
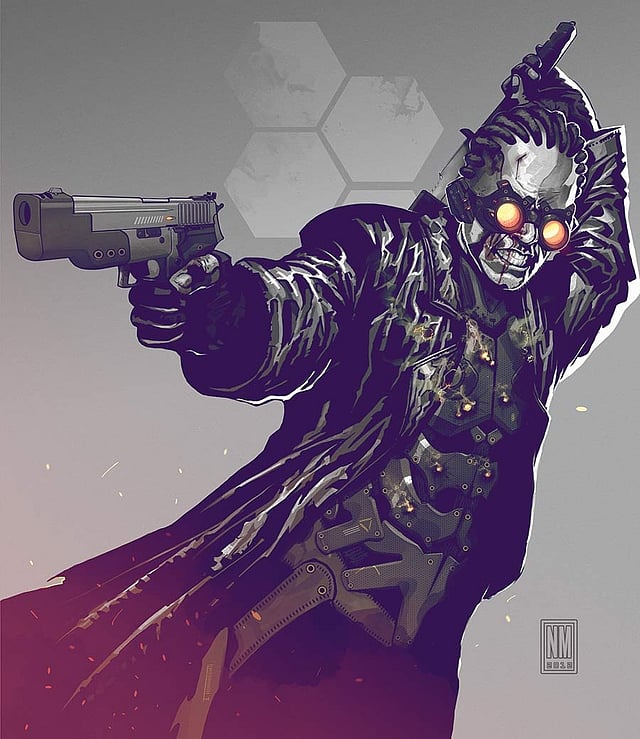
Step 14
Arrived at the final image.

