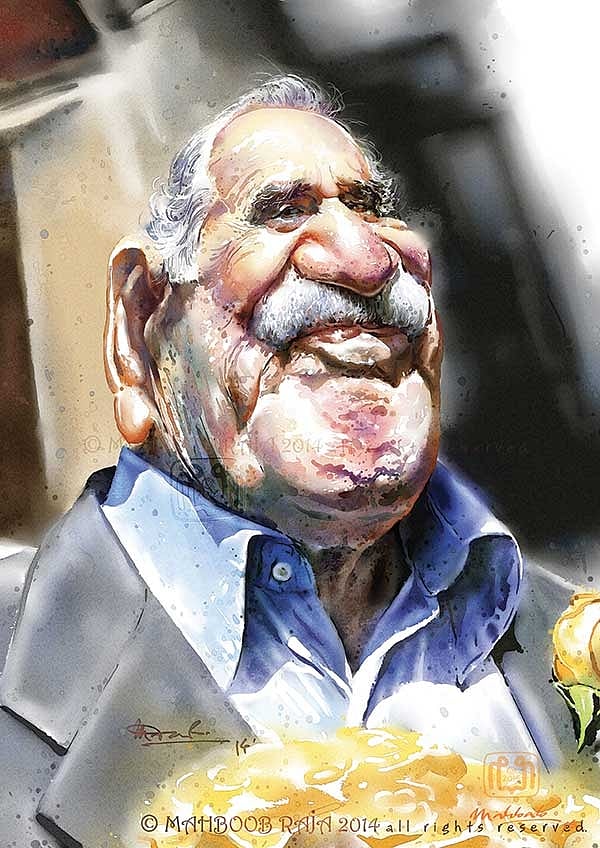
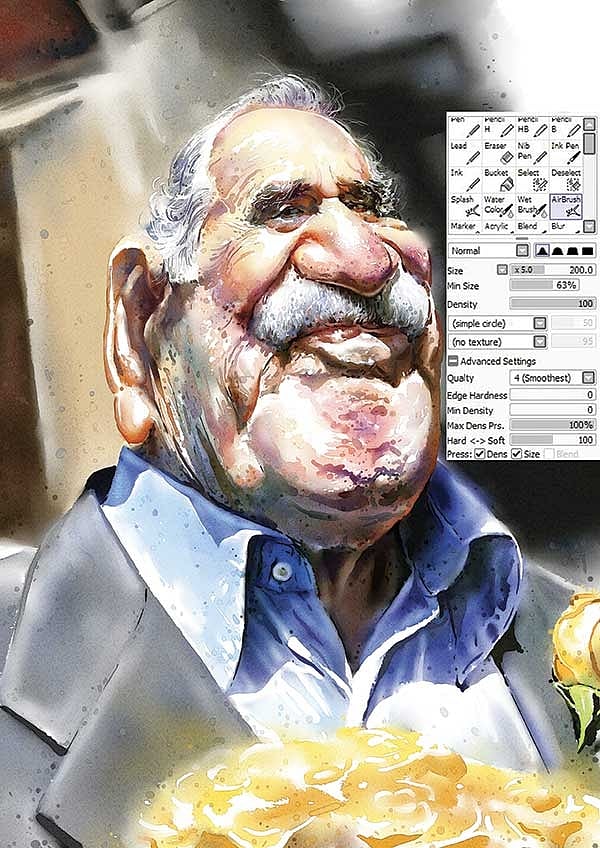
Fan loves for ‘Gabo’ to turn into a Magical Tribute!
Step 01
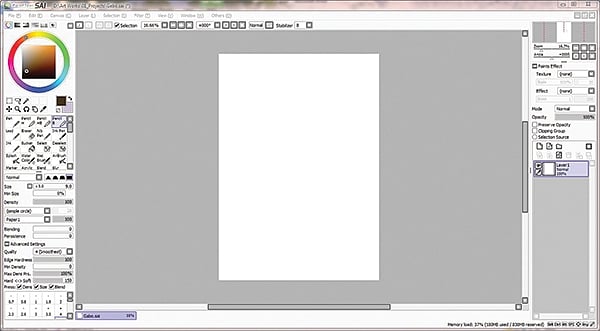
Started with A4 canvas which can be resized at finishing level. The software comes with some default brushes but you can also make your own set of brushes. Many custom made brushes can be downloaded from the internet. I mostly start my sketch with Pencil B.
Step 02
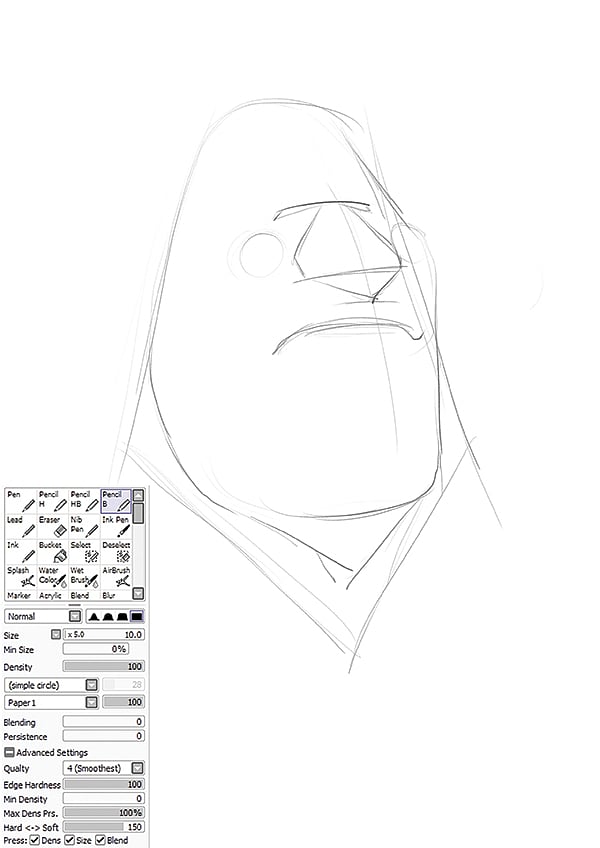
As per my observations, visualise the structure of the Gabo's face with basic shapes. After the basic shapes starting with close set eyes loosely drew a wide square face, small mouth close to a narrow, spread out, down-turned nose and big square chin.
Step 03
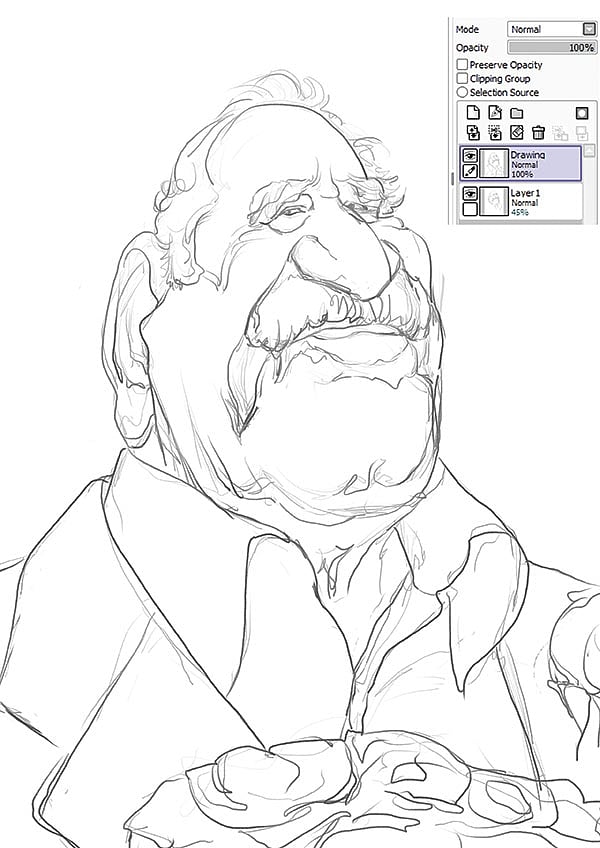
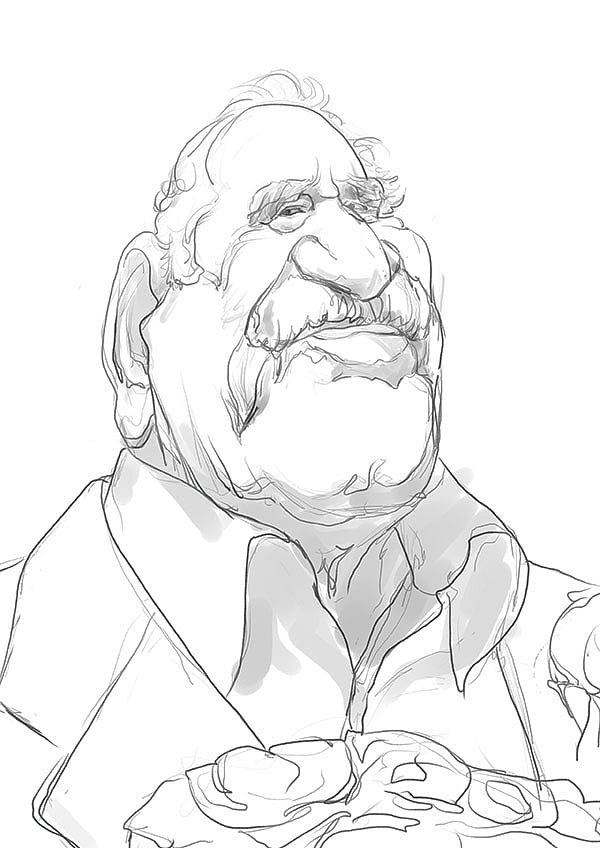
Drew a large lantern shape jaw and lower shoulder to give the desired weight to his personality. This helped to create a larger than life look to portray Gabo's greatness. Cleaned up the drawing on a new layer with dark bold lines.
Step 04
On a new layer, started creating some shadows with Marker brush to get the threedimensional feel before going on to the colouring process.
Step 05
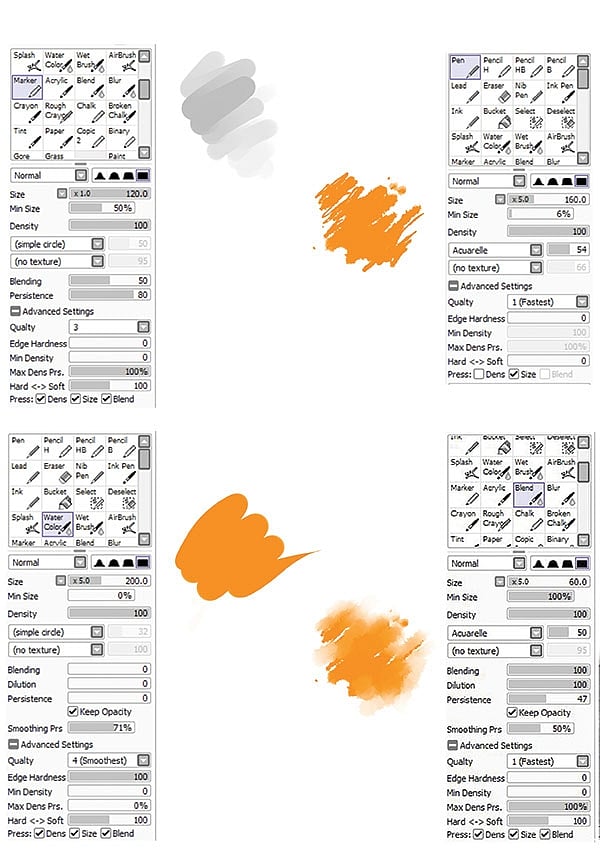
For paint effects applied the these brush settings on each layer except the drawing layer and the layers with overlay mode. To paint the base, selected Pen tool with the settings shown in the image. While colouring intentionally left some parts unpainted to get the feel of splashes.
Step 06
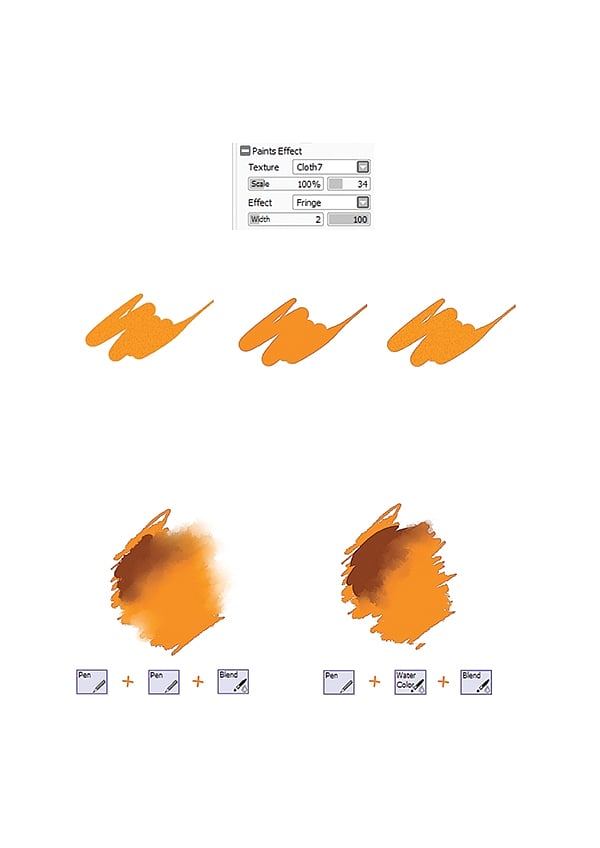
Placed different colours together and used blend brush with very little changes in their basic settings to mix and smudge some of the colour edges.
Step 07
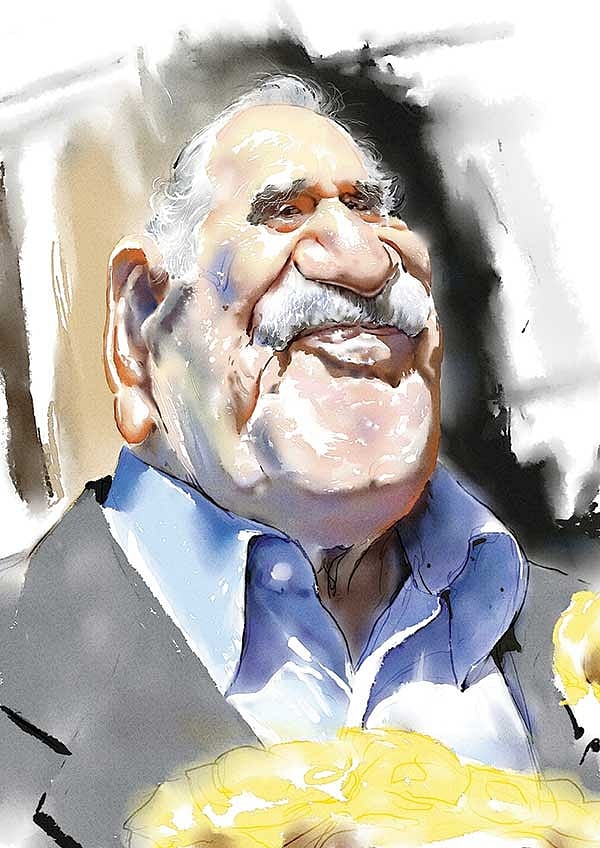
Now erased some paints to get the highlights and the feel of white paper. On a new layer, with a customised watercolour brush and same layer settings, started adding more details and finishing it by mixing with blend brush.
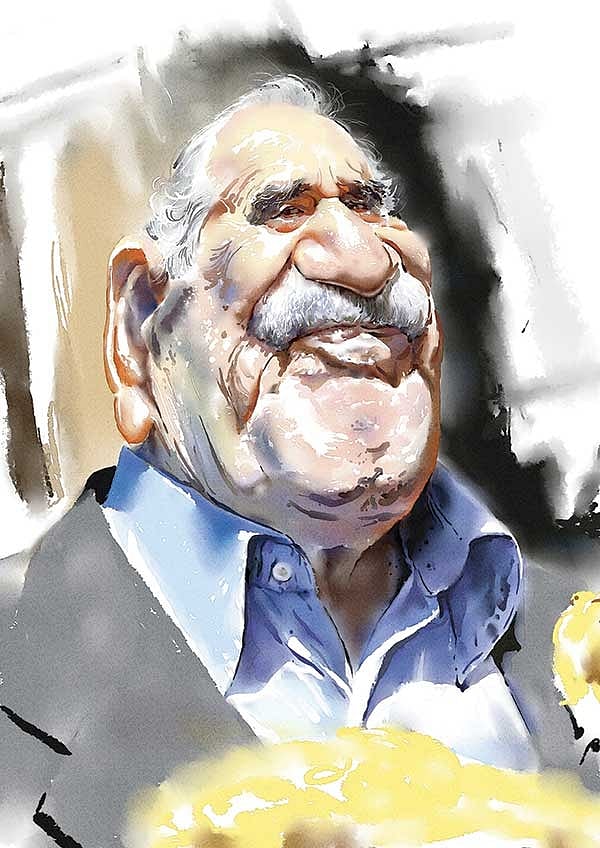
Step 08
While adding more details of Gabo's features, started adding some colours on the new background layer with pen brush. Here too kept the same layer settings. Also erased some lines of initial drawing to blend the feature more smoothly.
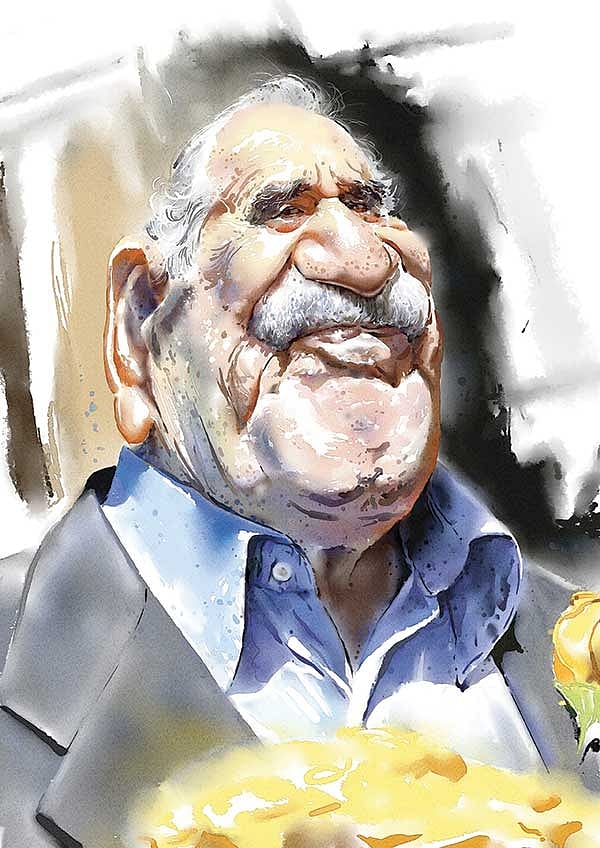
Step 09
In this step, on a new layer again with same layer settings, started adding colour splatters on the face. With blend brush mixed the colours of coat and added little details on flowers too.
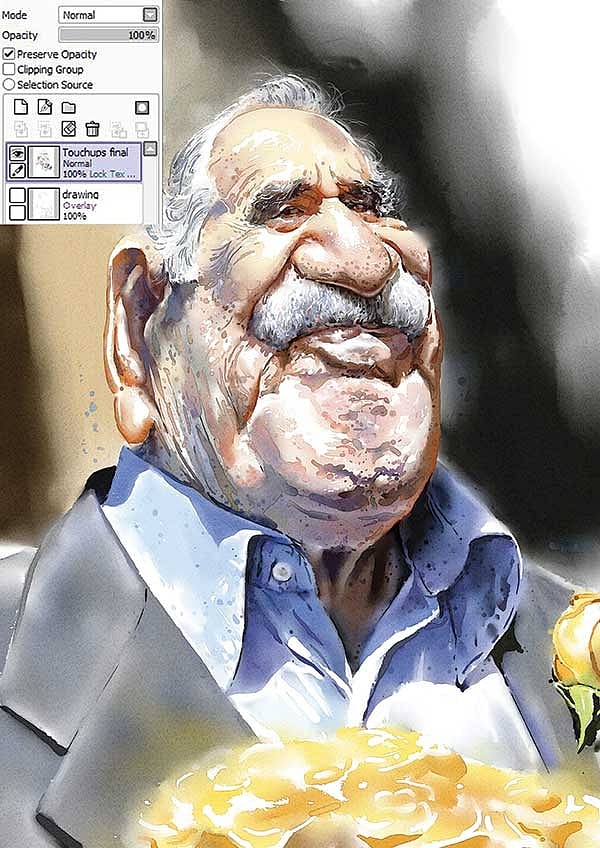
Step 10
While filling colours on the background also added more details on collars of the shirt, face and the rose. Kept preserve opacity option checked in layer settings and with an air brush painted over the touch-ups to get the more accurate colour of the shadow.
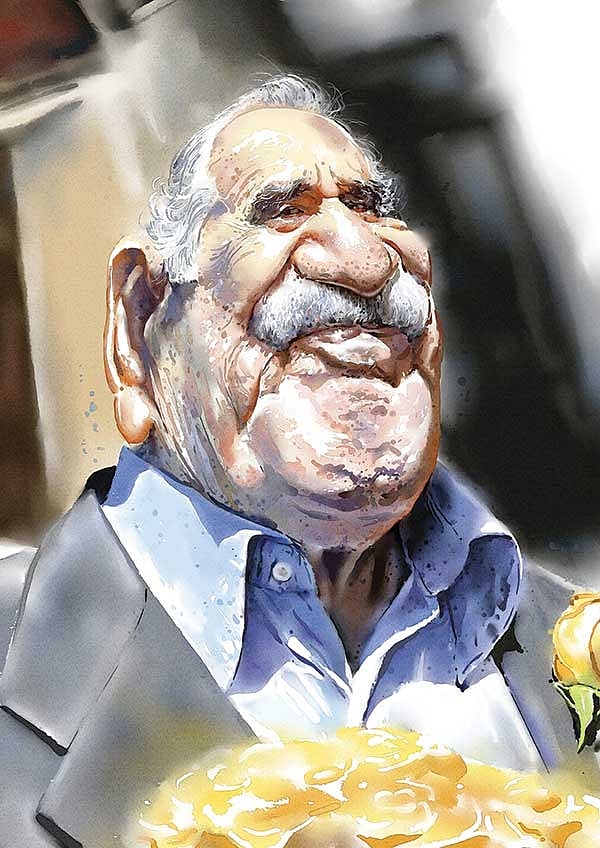
Step 11
Started finishing background with pen, watercolour and blend brushes. Created an illusion of some structure in the background.
Step 12
Put splatter all over and again checked on the box of Preserve opacity on layer settings and with an Airbrush painted over the splatters to get it correct colours.
Step 13
On a new layer with just overlay mode on and no other change i settings, with airbrush painted over some areas to get the depth of colours. Achieved the final artwork (caricature).

